How to sell on Shopify is what every online store beginner wonders when they join this eCommerce platform. As we’re going down through 2021, buying and selling online are more popular activities than ever before.
Table of Contents
What is Shopify?
It is one of the most popular eCommerce platforms available at the moment. Shopify also has many active users which vary from online store owners to businesses and entrepreneurs.
Furthermore, this eCommerce platform also offers its users some great services such as paying methods, marketing, shipping, and customer engagement tools. These services are what make Shopify so attractive to online sellers.
Why choose Shopify as your eCommerce platform?
The first thing is that Shopify is more simple when compared to other platforms. This means that online merchants don’t have to be IT professionals to operate it. It doesn’t require coding knowledge or great computer skills, and online store owners can just create their own Shopify stores with ease.
Secondly, Shopify is an all-in-one solution. That’s why it is mostly recommended for those who concentrate on selling rather than technical perspective. This makes it the best choice for online merchant beginners.
A step-by-step guide on how to sell on Shopify
Now then, with all of the information above, are you ready to join this Shopify train ride? If yes, here are steps to guide on this Shopify selling journey.
Sign up your Shopify account
Start selling on Shopify needs a Shopify account. As for beginners, you are offered a 14-day free trial before paying a fee to experience any of Shopify’s features. You don’t have to enter your credit card details to sign up successfully either.
During this stage, you can test around the tool before paying the money. Though, this account will be deleted automatically when the trial ends. If you want to reactivate it, you will have to make a purchase plan.
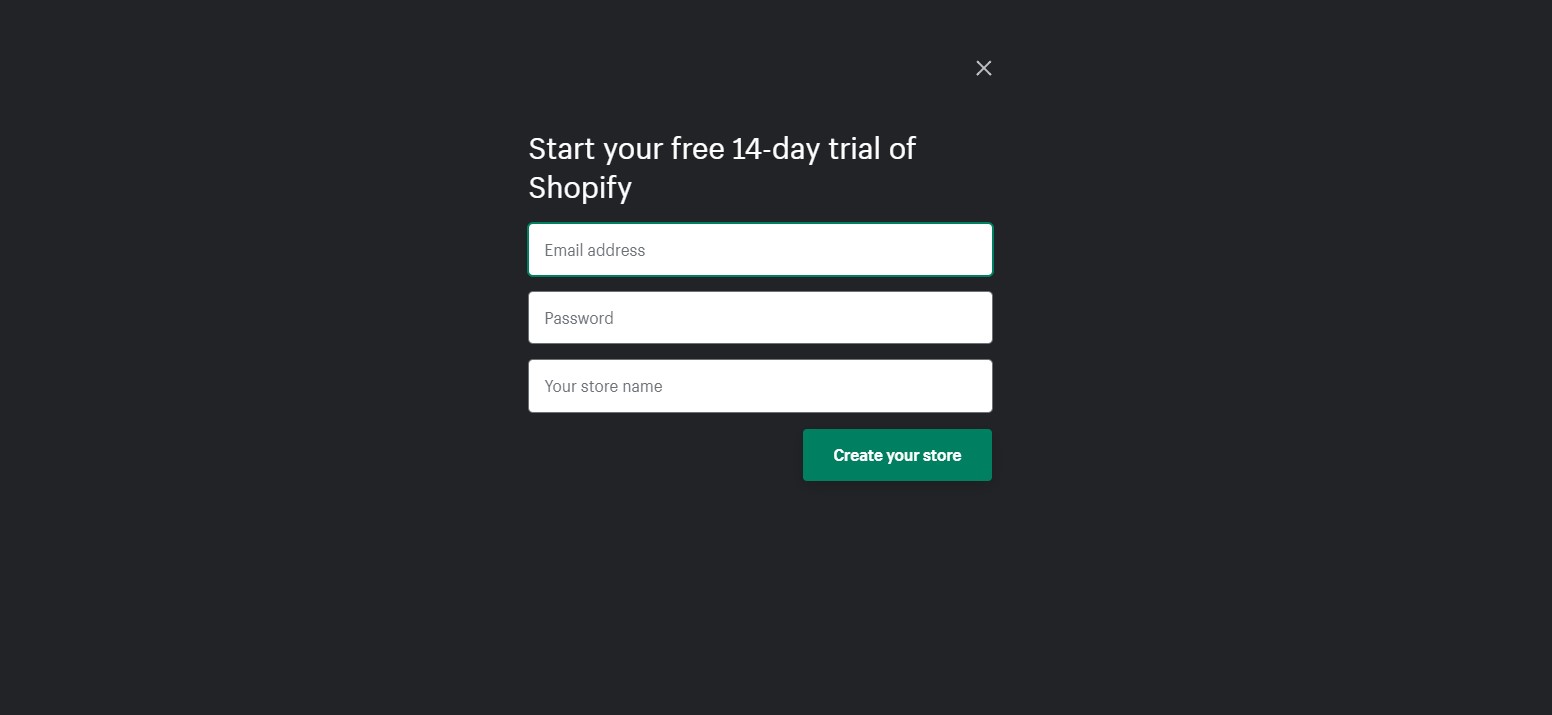
Try 14 days for free on Shopify
At this stage, choosing your store name is very important. If your store name already exists or duplicates, there will be a red error notification. Your store name will become your primary domain address. However, you can change it later as you wish.
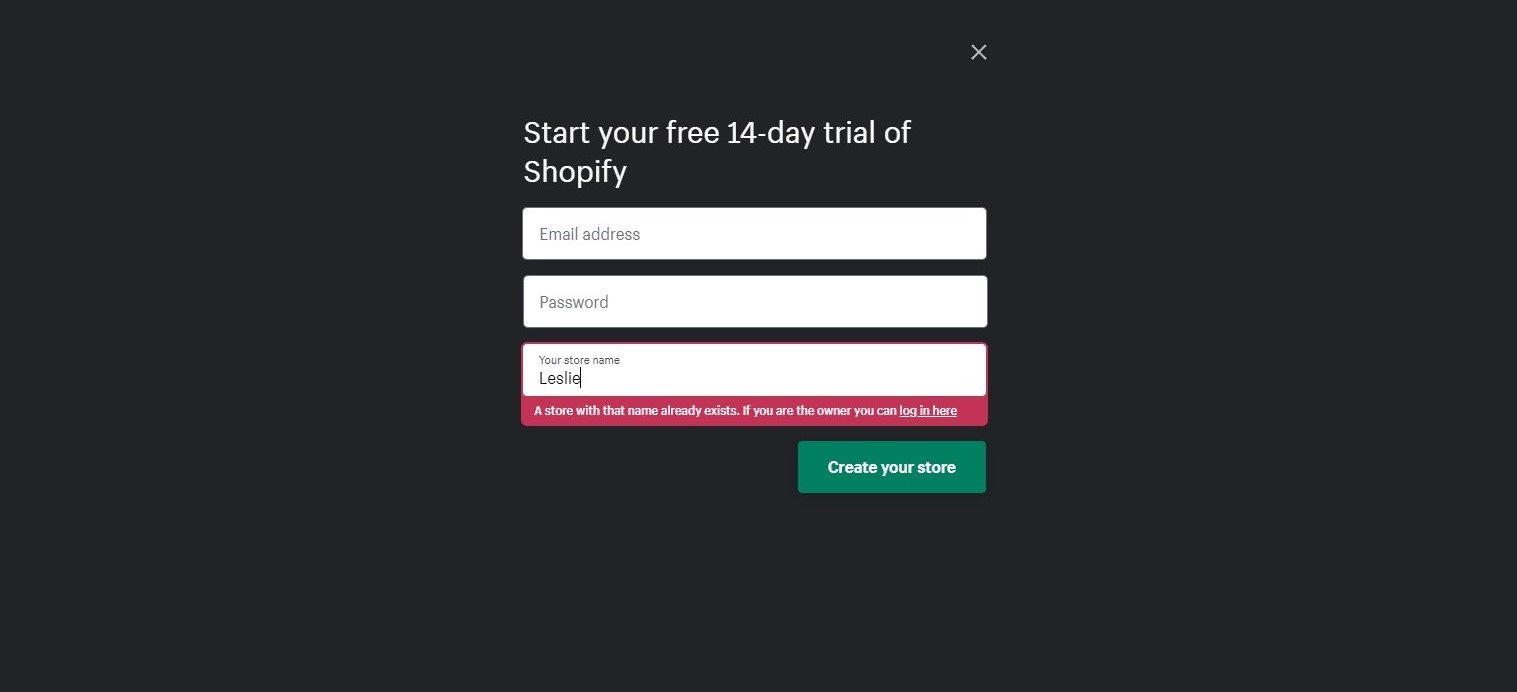
Error notification for duplicated store name
Once you have filled in the required information, you will be taken to a page with questions about your business. If you have already run a store on Shopify, there is a revenue question to be answered.
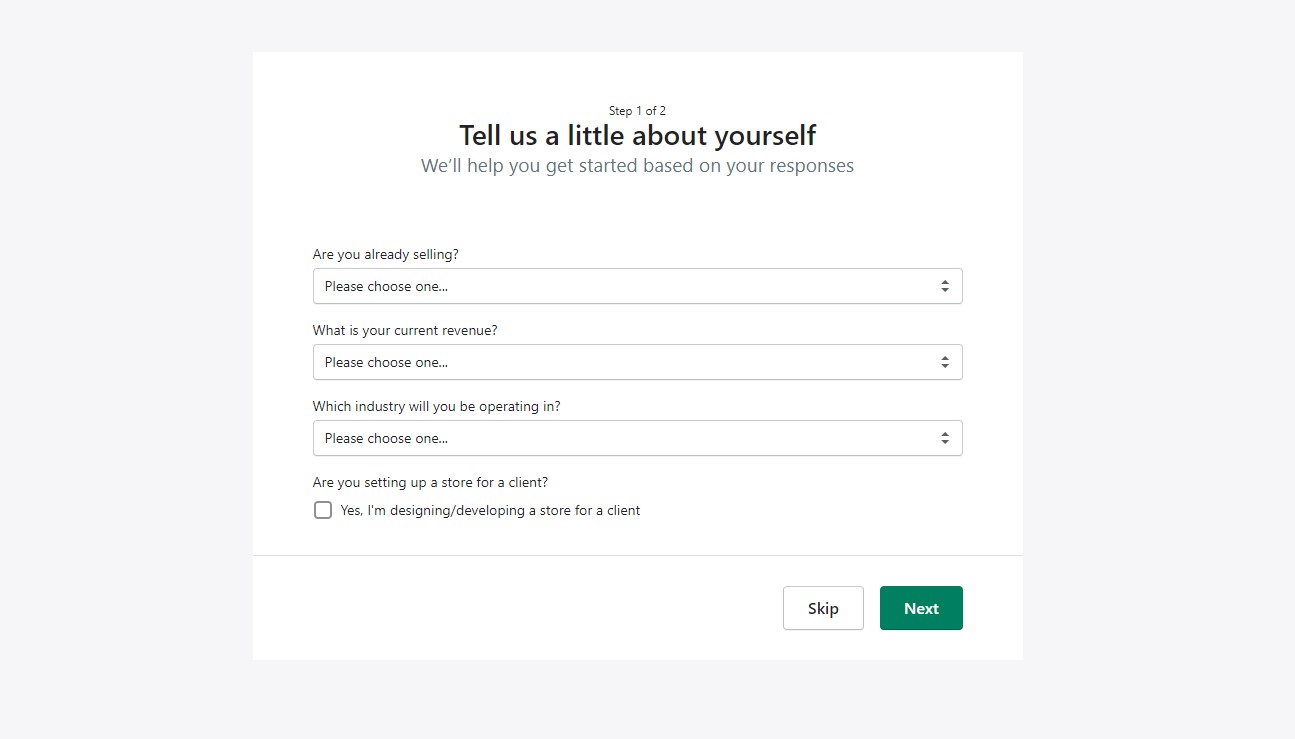
Answer questions about your business
These questions will help Shopify recommend the best actions for you. Therefore, you should answer them truthfully, or skip for now and come back later. Next, you will have to fill in your business’s default address. This allows Shopify to justify your store and help give you payment exactly.
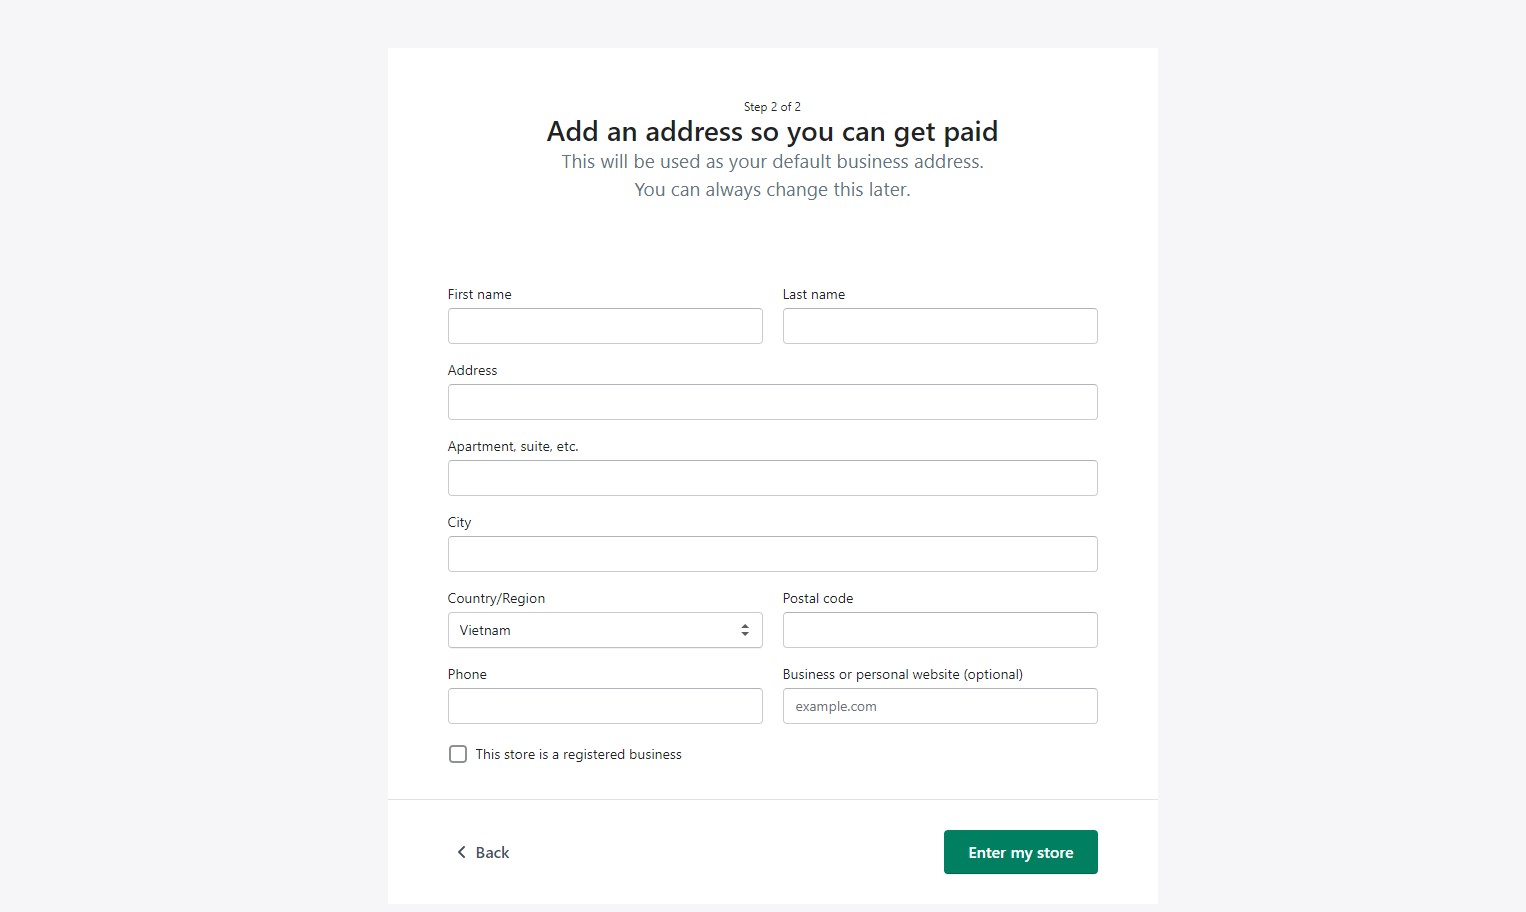
Add the information of your store to sell on Shopify
When you have finished everything, you can now access your newly created Shopify store.
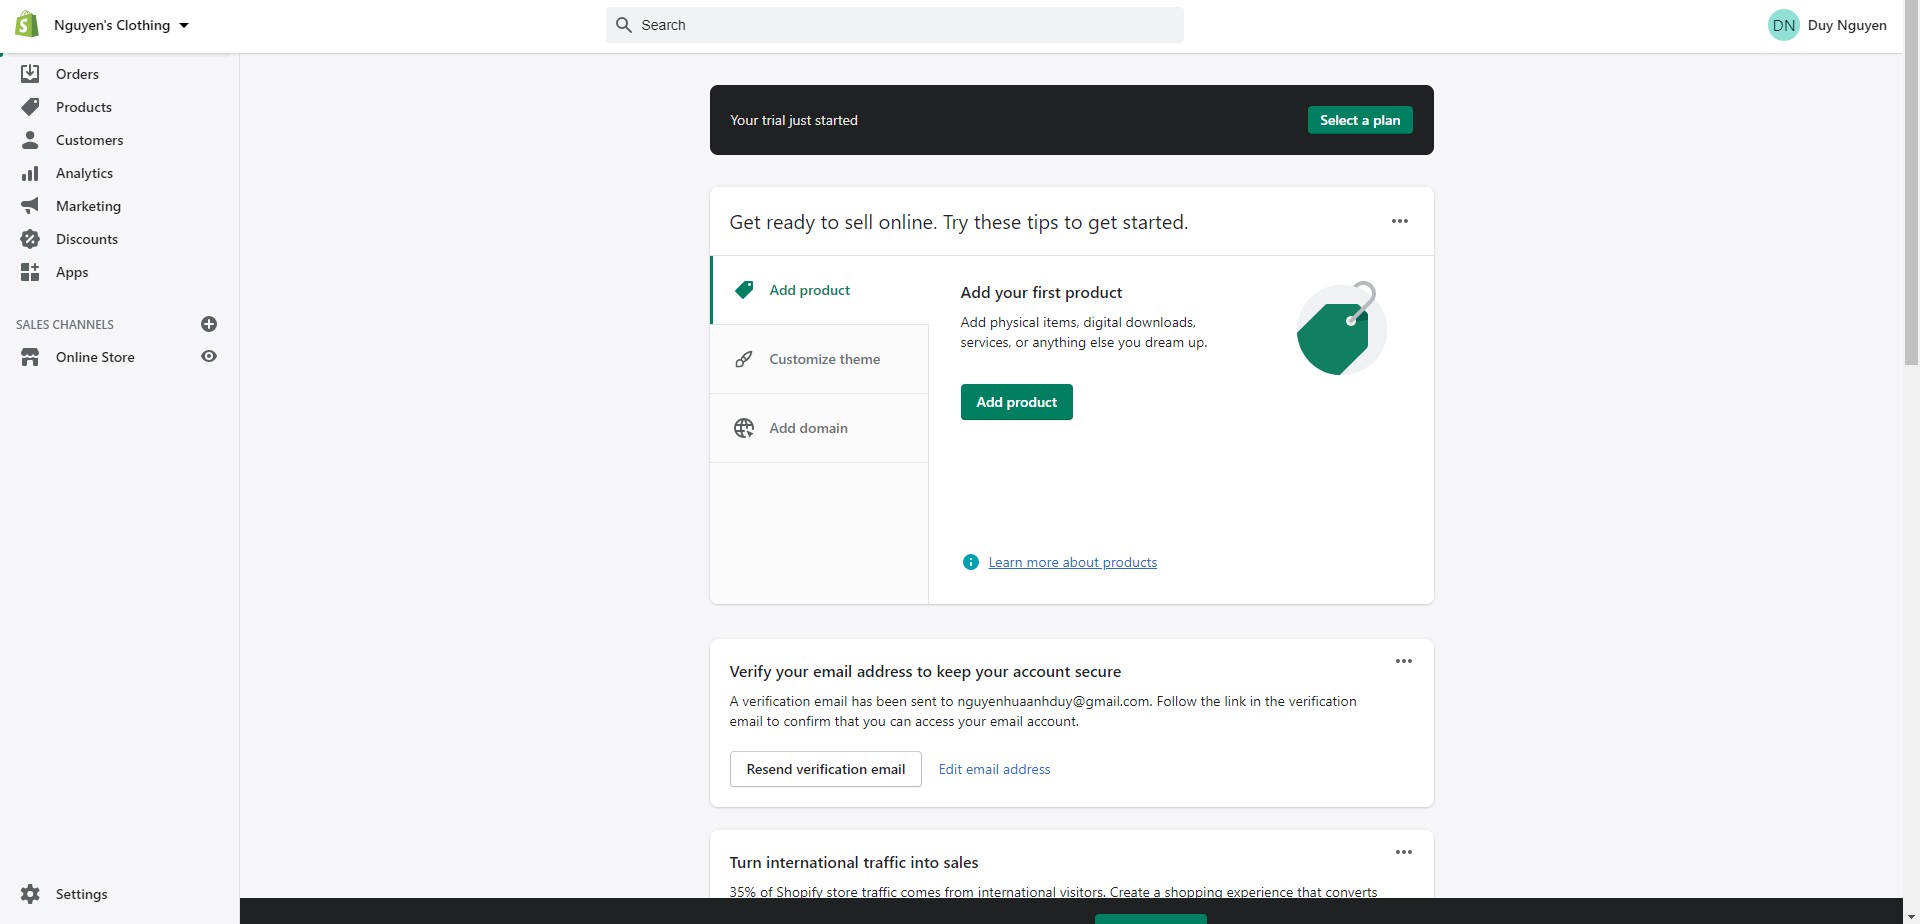
Your newly created Shopify store
On your homepage, you will see Shopify tips such as Add products, Customize theme, and Add domain. These are a few steps to follow so that you can get your store ready to go live.
Fill in your domain address
The domain address is like an URL linking to your shop website such as AnneStore.shopify.com. This is what customers will type in when they are looking for a specific online store.
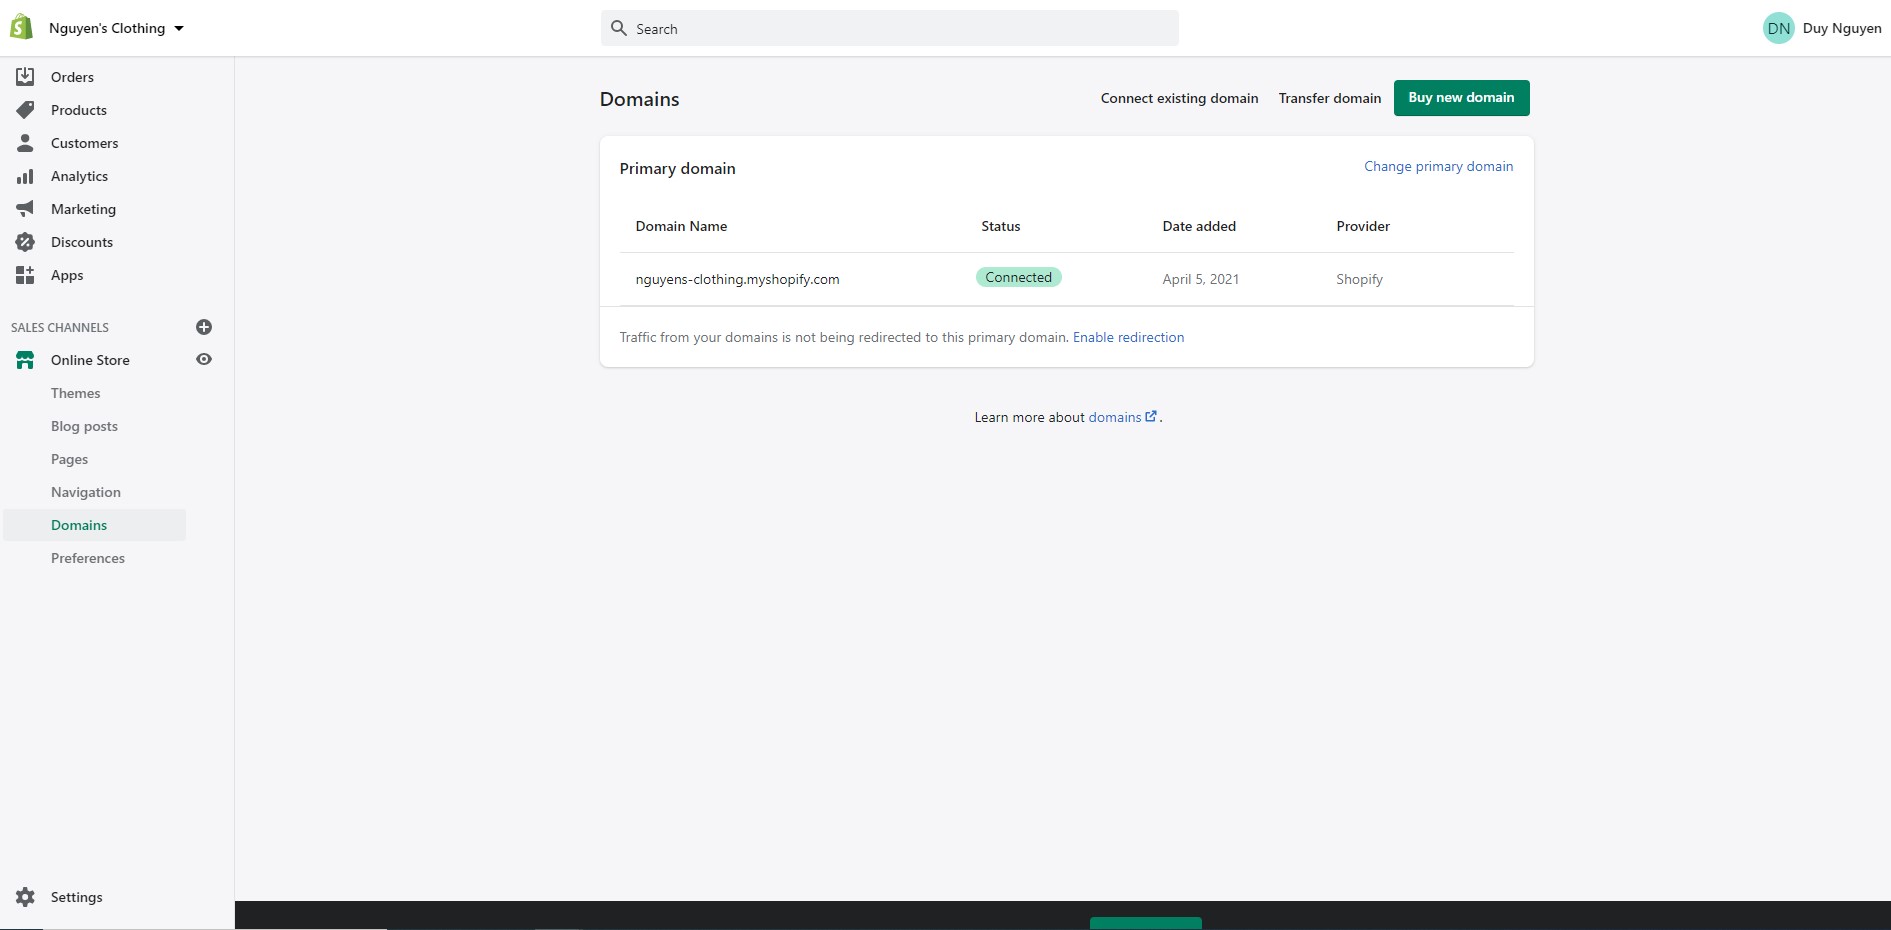
Domain name for your Shopify store
In Shopify, a default domain will be set automatically based on your store name. If you have an already existing domain name for business, you can decide to use it as well. Or, you can buy a new one by clicking on the “Buy new domain” button.
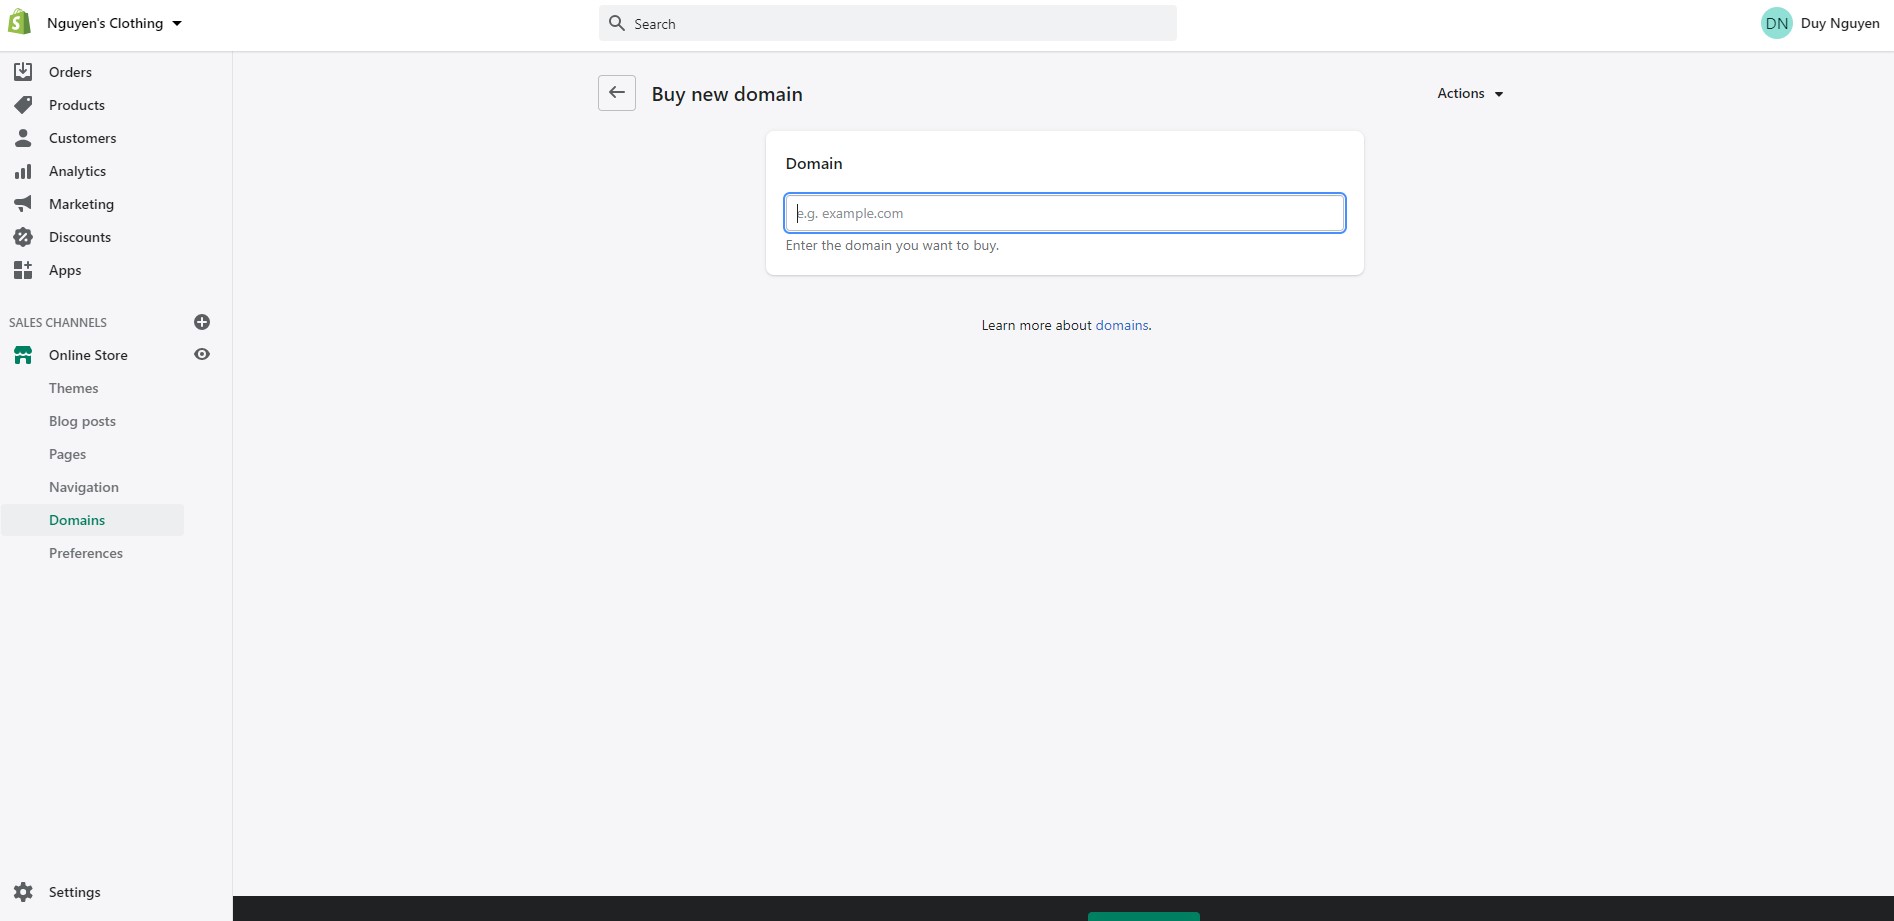
You can buy a new domain for your store
Before buying a domain, there are a few things you should keep in mind:
- Keep the domain clear and simple: this is crucial because you will want customers to remember your brand name effortlessly. Moreover, keeping the domain name short will make it fully present on the URL bar.
- Make it relevant to your store: Always remember what you’re selling, and why not keep the domain name related to those products. Customers usually expect that the store name (or domain name) would give out what they are looking for. The less ambiguity the name is, the easier it is to find the store.
Choose your Shopify theme
Now, it’s time to decorate your Shopify store. Luckily, Shopify has already provided its merchants with available themes. You can easily customize everything, from the header, titles to featured collections.
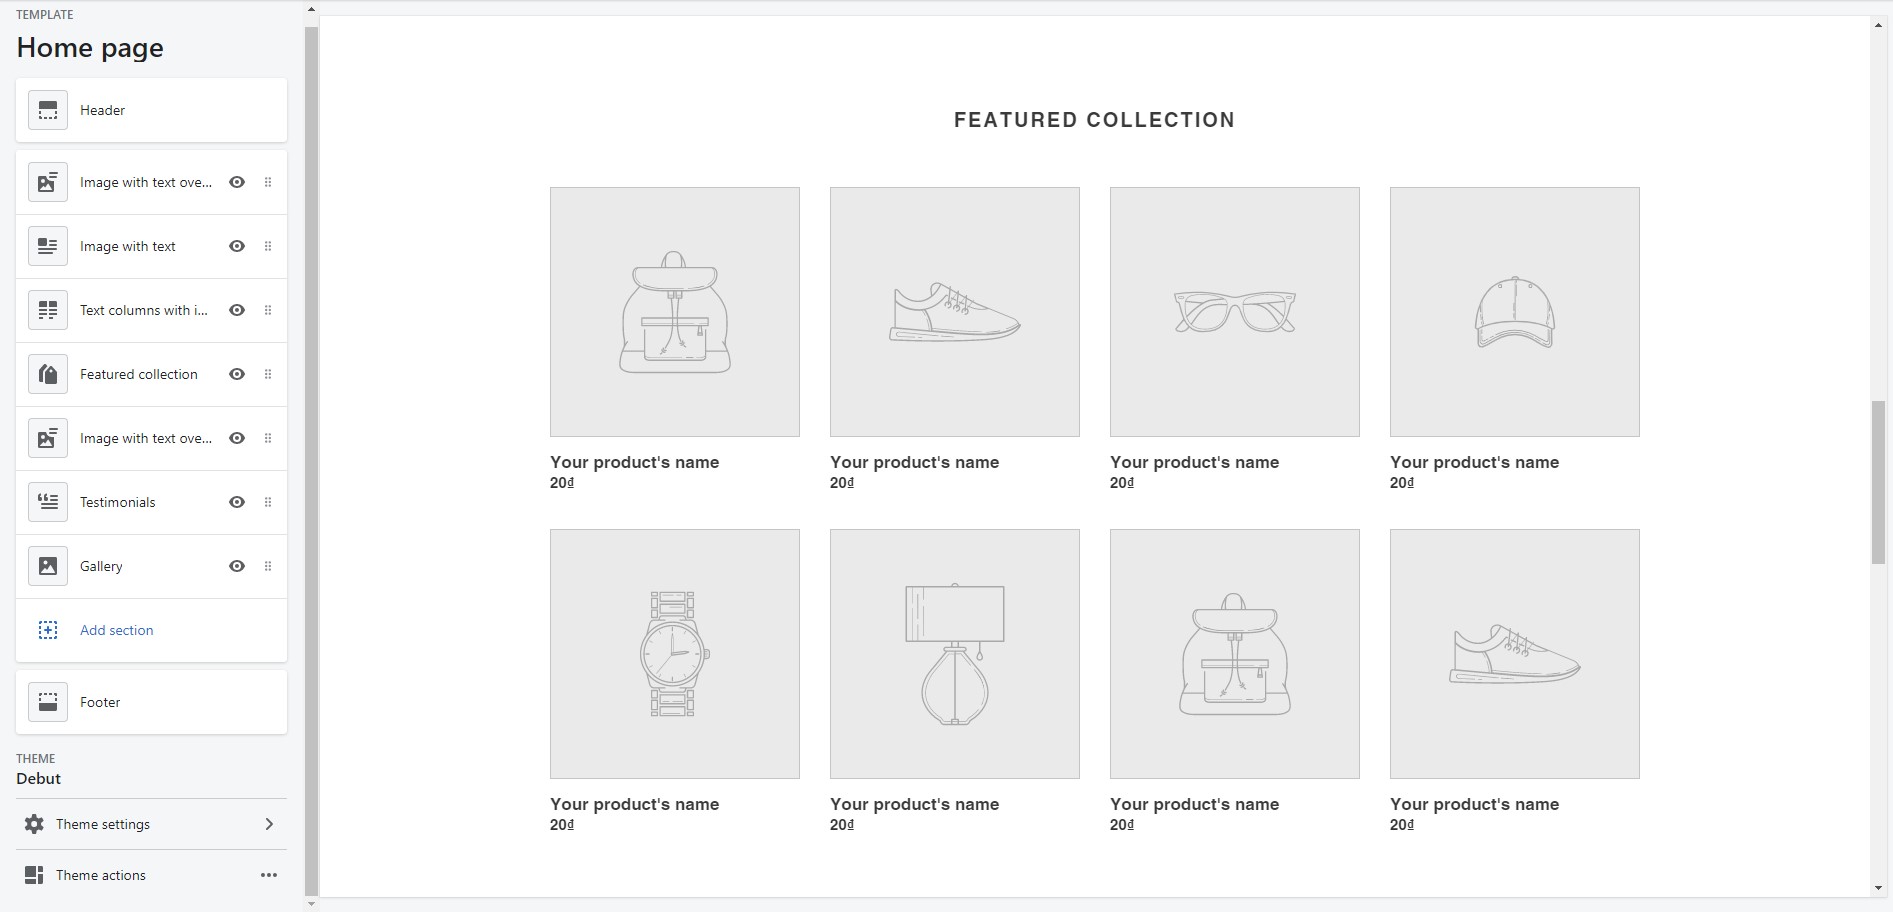
Customize your Shopify store
Generally, you have only 3 seconds to catch customer’s attention when they visit your store. That’s initial that you should make it engaging and attractive. This would also make them want to stay on-site longer.
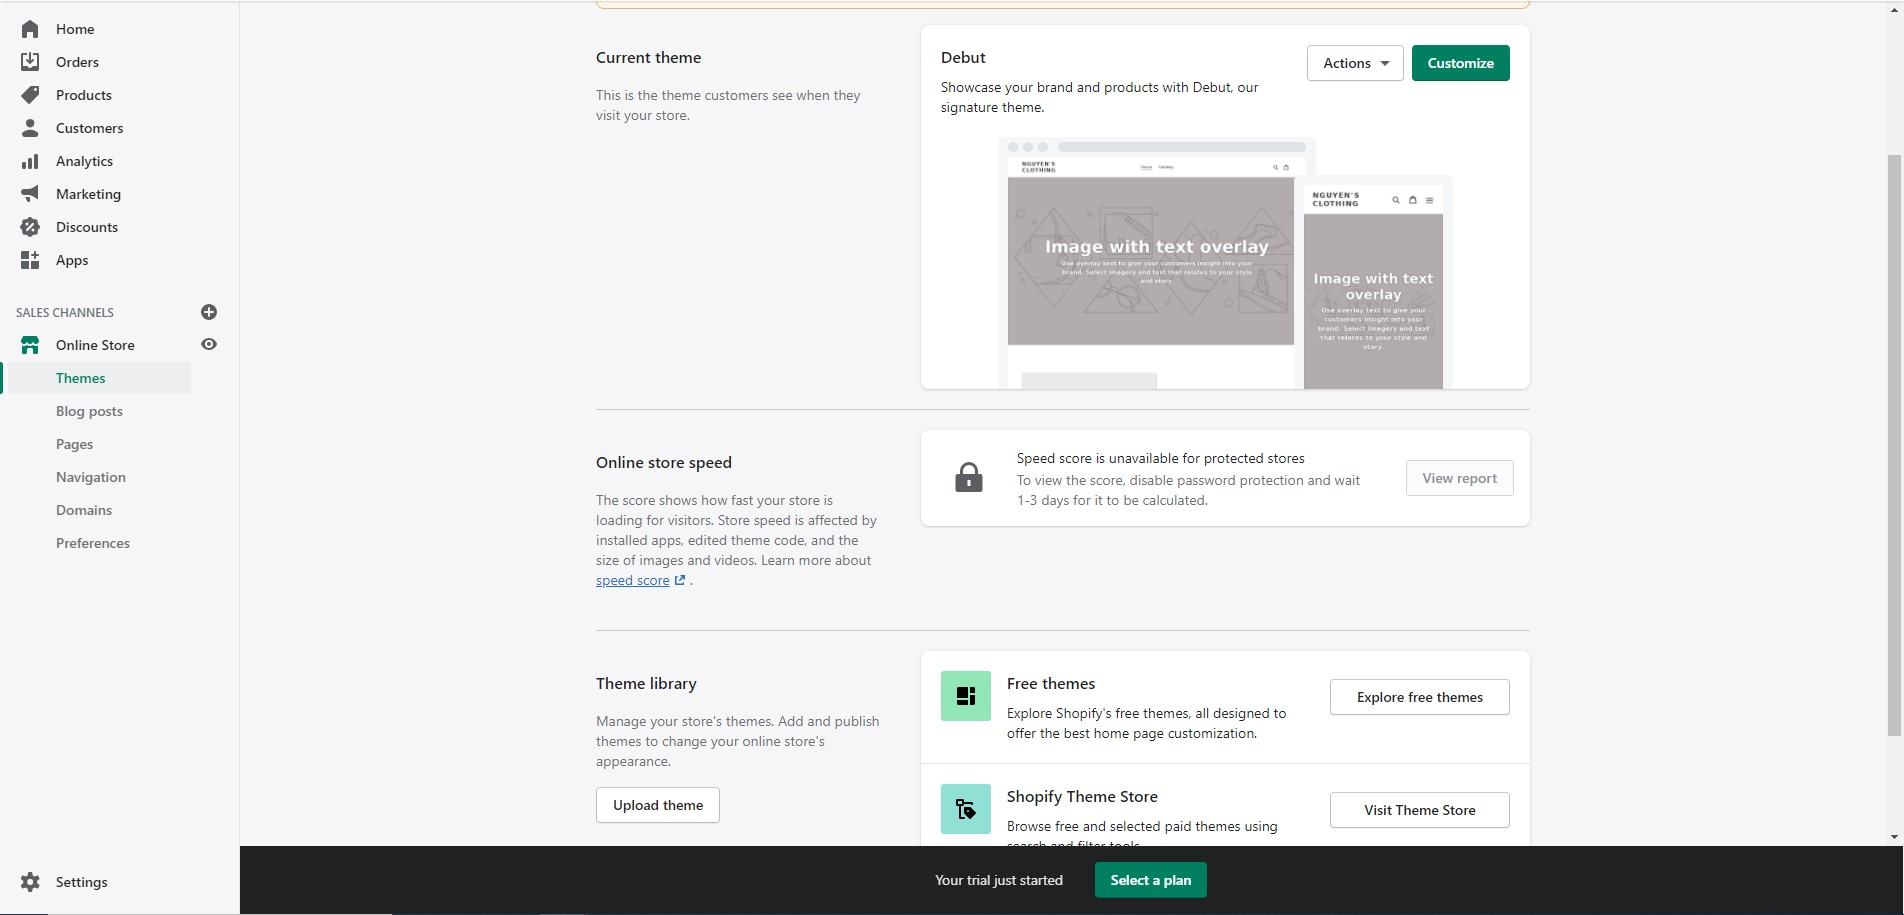
Design your store theme
Moreover, you can either make the themes fancy or make them look elegant and professional. That depends on the style of the store or the products you’re selling. Visit this Shopify themes store page https://themes.shopify.com/ and see which theme suits you the best.
Decide what to sell in Shopify
When you have finished your Shopify store setup you have got to the important step on how to sell on Shopify: Adding your products to a Shopify store which is the most time-consuming stage in this guide.
Talking about what products to sell in your store. Either it can be trending ones nor what you have in stock. Either way, make sure that they are in good condition and ready to be sold.
You have to be careful, attentive, and precise when doing this stage. It’s just not about adding products and descriptions; you are also putting in prices, codes, and shipping. Remember, it only takes one wrong digit to ruin your online business. That’s the reason why you should take it slow and carefully add your products.
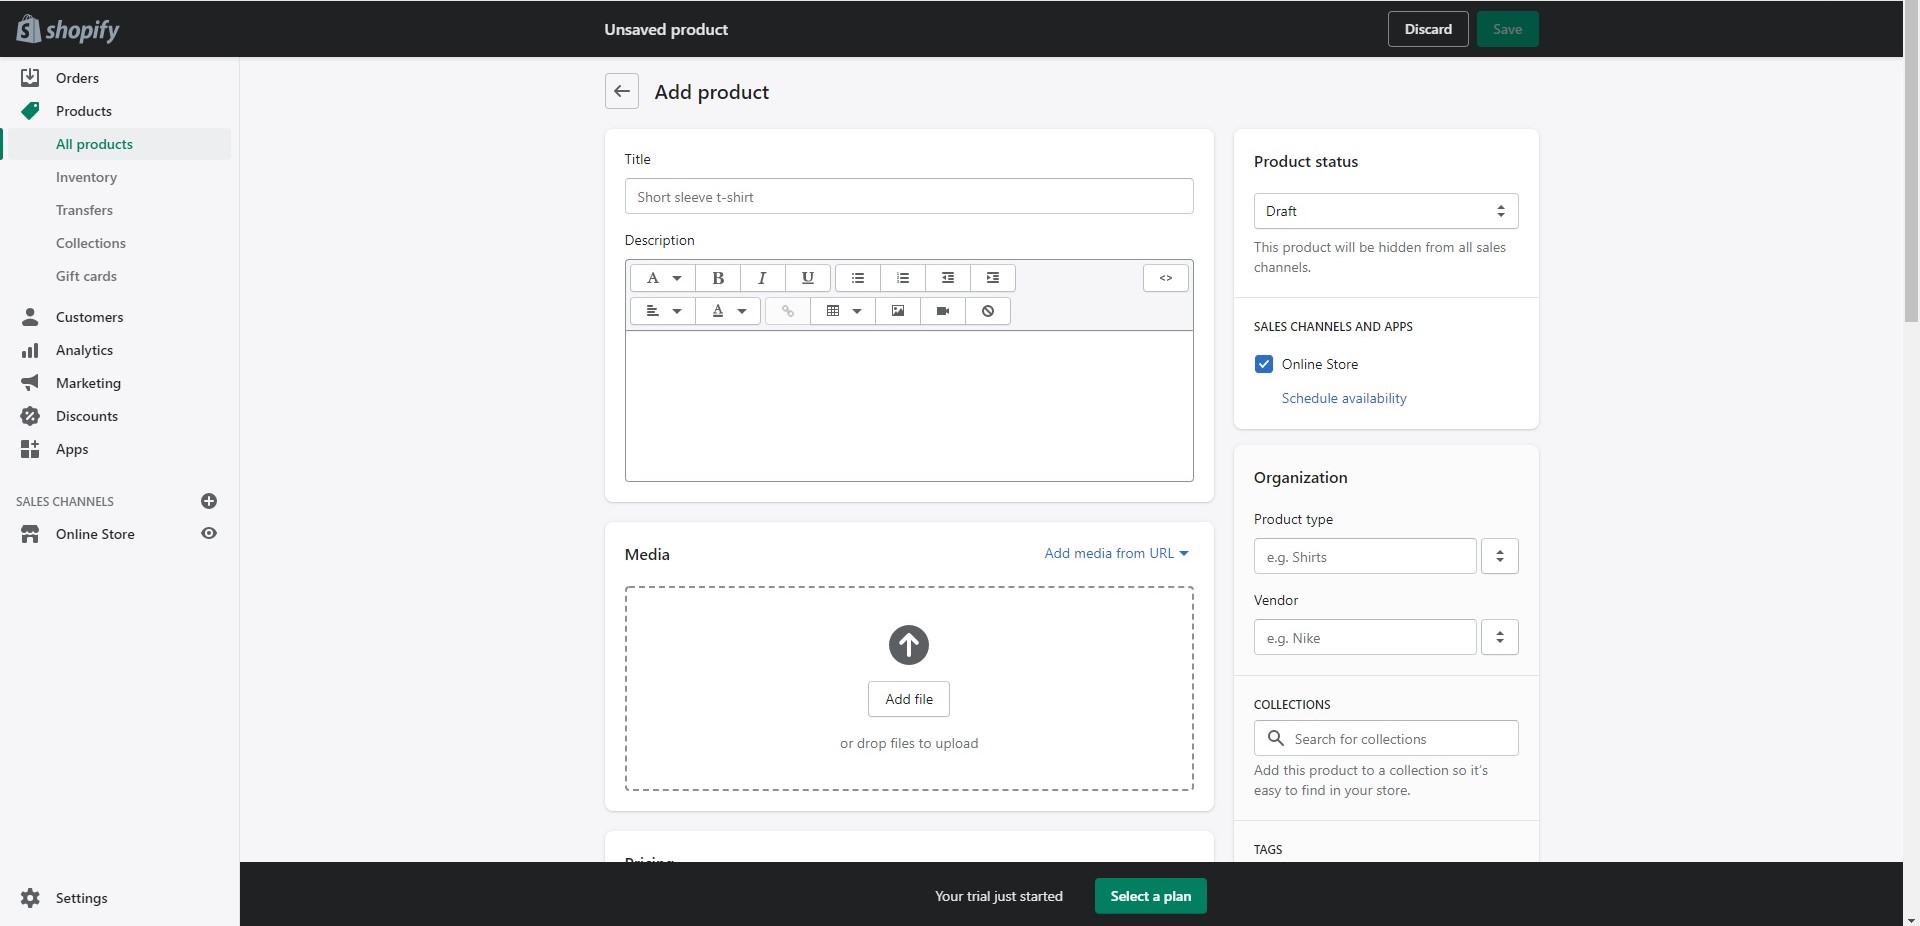
Add products you want to sell on Shopify
Doing it manually is the most common way. However, if you’re owning hundreds of items, it will take ages. Fortunately, you can choose to import products by CSV file. This method will become most effective when you’ve had every product ready, from the price to its description.
For further information, you can visit this Shopify guide on how to import products with CSV files.
Use Shopify provided apps for your store
No matter how good Shopify is, it always has its own limits. With so many merchants joining this platform recently, the demand for some specific features is simply overwhelming.
To solve this problem, Shopify has an app store where thousands of apps are developed to support online and make the process of starting selling on Shopify less frustrating.
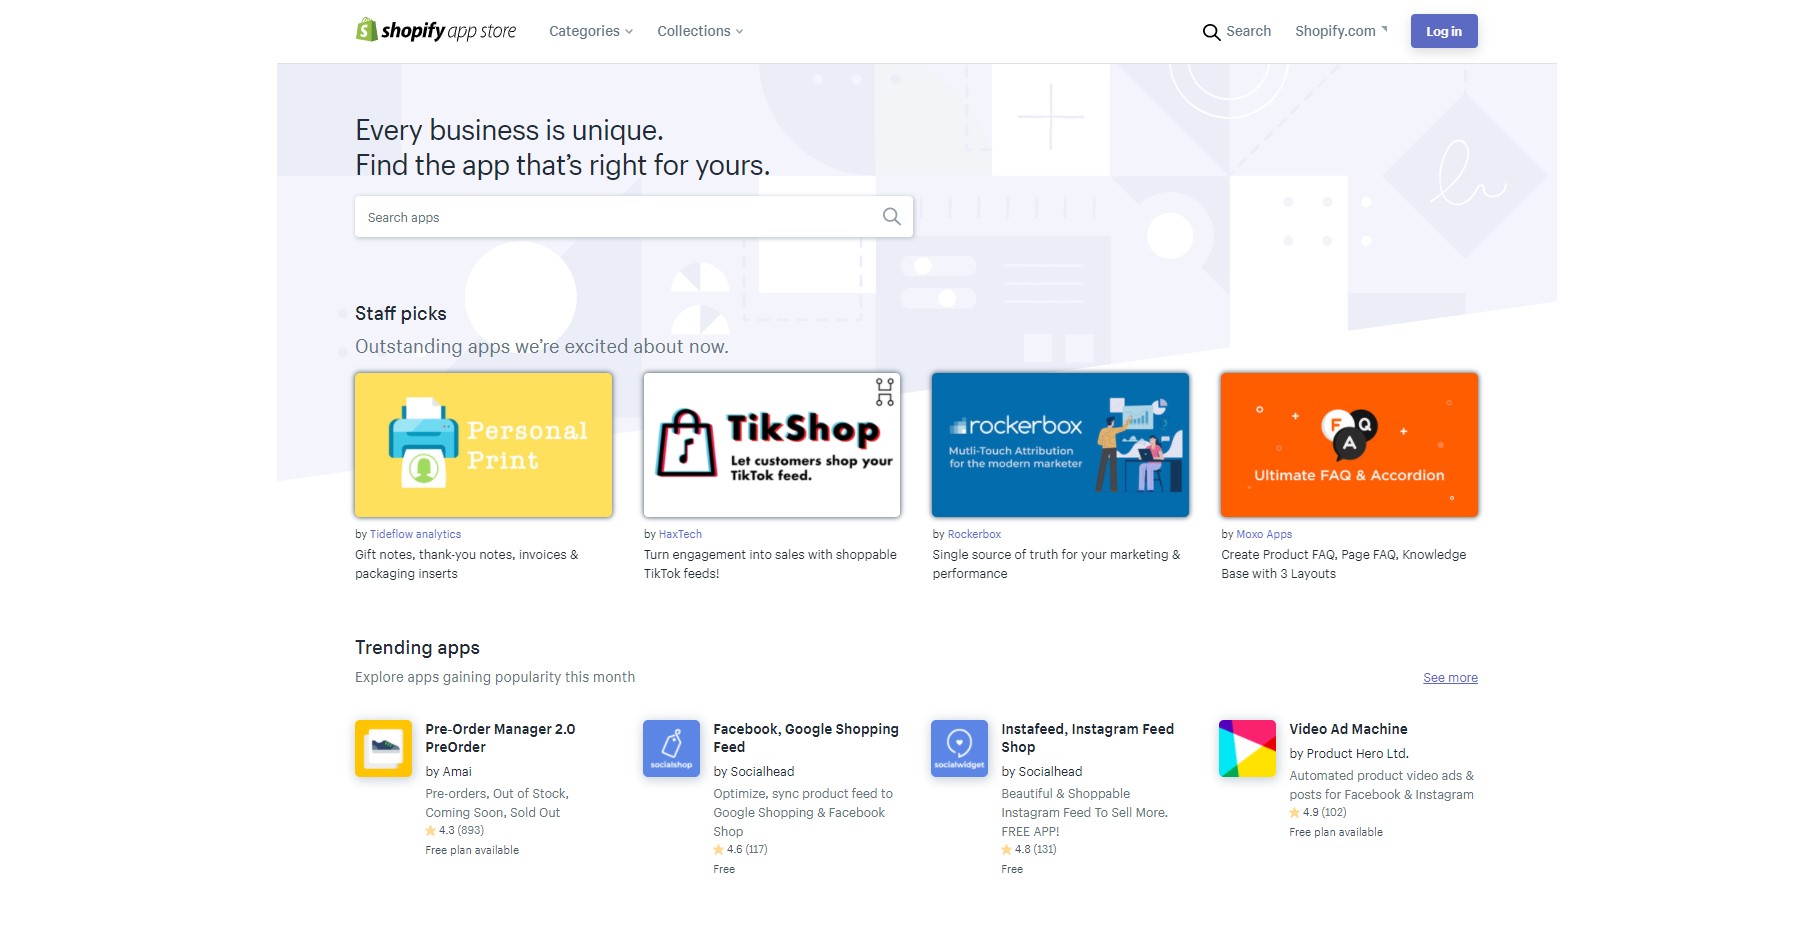
Shopify app store provides thousands of apps to support online merchants
If you want to embed Instagram themes to your Shopify store, there is an app called Socialwidget that helps you do the trick. This app helps you add an Instagram theme to your store with some simple clicks. It also allows you to customize your theme more creatively to get customers’ attention with ease.

9 different layouts for you to customize your store theme
There are a lot more useful apps you should give a try. In fact, there are 11 best Shopify apps that help increase your online store sales effectively on our list.
Finish setting up and get your store live!
Finally, you have reached the last step on this guide of how to sell on Shopify. A newly launched Shopify store doesn’t bring so much profit. Be Patient, you’ll need to expand your online store further, especially on social media platforms.
With billions of active users daily, the chances of getting your product noticed by potential customers are extremely high. This is also the reason why Facebook shops and Goole Shopping are getting more and more popular.
In order to take advantage of it, you can sync your eCommerce store to Facebook Catalog or Google Shopping for better customer reach. You can do it manually or you can use the Socialshop Shopify app as your humble helper.
Socialshop is a great tool that helps you sync all of your Shopify products to Google Shopping or Facebook Catalog easily and automatically. It also makes your product feed more visible to customers. By doing so, you will be able to get more sales in no time!
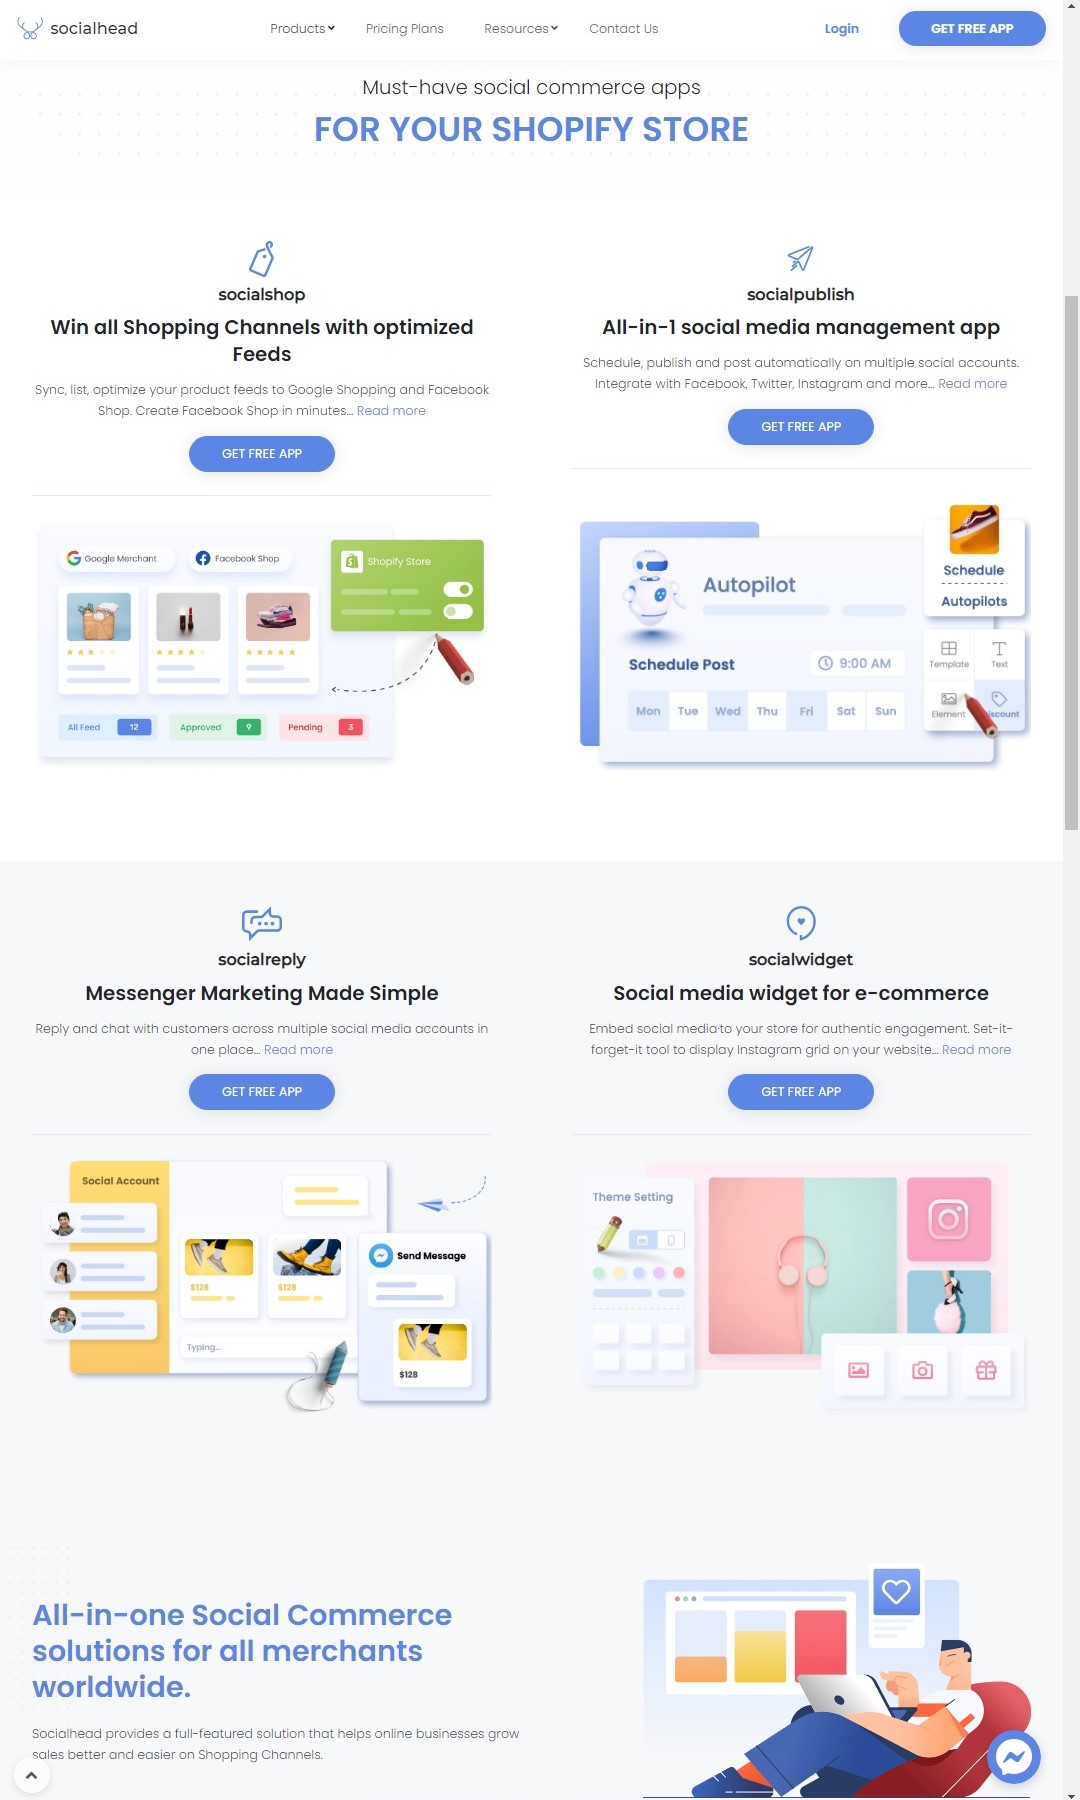
Use Socialshop to sync your Shopify products to social media
Ready, set, and get selling!
Congratulations! You have gone through all of the steps above about how to sell on Shopify.
After getting your store to go live, you should consider optimizing the product’s title and description as well. They are important factors for customers’ ability to find your products and your store on this platform.
I will give a specific guideline about those factors in the next articles. As for now, this start guide can give you a hand to overcome your first obstacles.
Good luck and happy selling!
 socialhead


